> For the complete documentation index, see [llms.txt](https://docs.plenit.com/llms.txt). Markdown versions of documentation pages are available by appending `.md` to page URLs; this page is available as [Markdown](https://docs.plenit.com/docs-en/support/tutorials/linux/how-to-set-up-kubernetes.md).
# How to Set Up a Kubernetes Environment in Plenit
Keep reading if you want to discover **how to set up a Kubernetes environment in Plenit** and get the most out of it.
Since Google released the Kubernetes project almost 10 years ago (2014), this technology has been gaining more and more prominence, until it has become a **must-have element** in microservices management.
Kubernetes is an **extensible, portable and flexible platform** based on open software (open source) that allows us to manage workloads of different sizes and that includes variable sizing, allowing all kinds of services to be deployed, facilitating, among other things, automation and response to workload spikes and other types of changing workloads.
The way Kubernetes operates makes it an ideal platform for management based on PaaS (Platform as a Service) or IaaS (Infrastructure as a Service).
### **How to set up a Kubernetes environment in Plenit?**
#### **Pre-requisites and recommendations:**
To successfully complete this tutorial and be able to **set up a Kubernetes environment in Plenit** it will be necessary:
* On the one hand, be \*\*registered on the Plenit Platform \*\*with an organization and be registered in it after \*\*logging in \*\*[**Log in**](https://admin.jotelulu.com/){target="\_blank" rel="noopener"}.
* On the other hand, [**have a Server subscription activated**](https://jotelulu.com/soporte/tutoriales/como-desplegar-servidor){target="\_blank" rel="noopener"}**\[.]**
* Have three\*\* Ubuntu 22.04 servers\*\* deployed within the subscription.
```{=html}
```
* * kubernetes-nacho-1 = Master.
* kubernetes-nacho-2 = Worker 1.
* kubernetes-nacho-3 = Worker 2.
```{=html}
```
* A user with \*\*administrator privileges \*\*either through "root" or by using the "sudo" command.
* According to Kubernetes specifications, the provisioned virtual machines must have at least 2GB of RAM, 2 CPUs and at least 20GB of hard disk to work, although depending on the use they are going to be given it may be necessary to increase these requirements.
####
#### **Step 1. Preparing the machine before deploying Kubernetes**
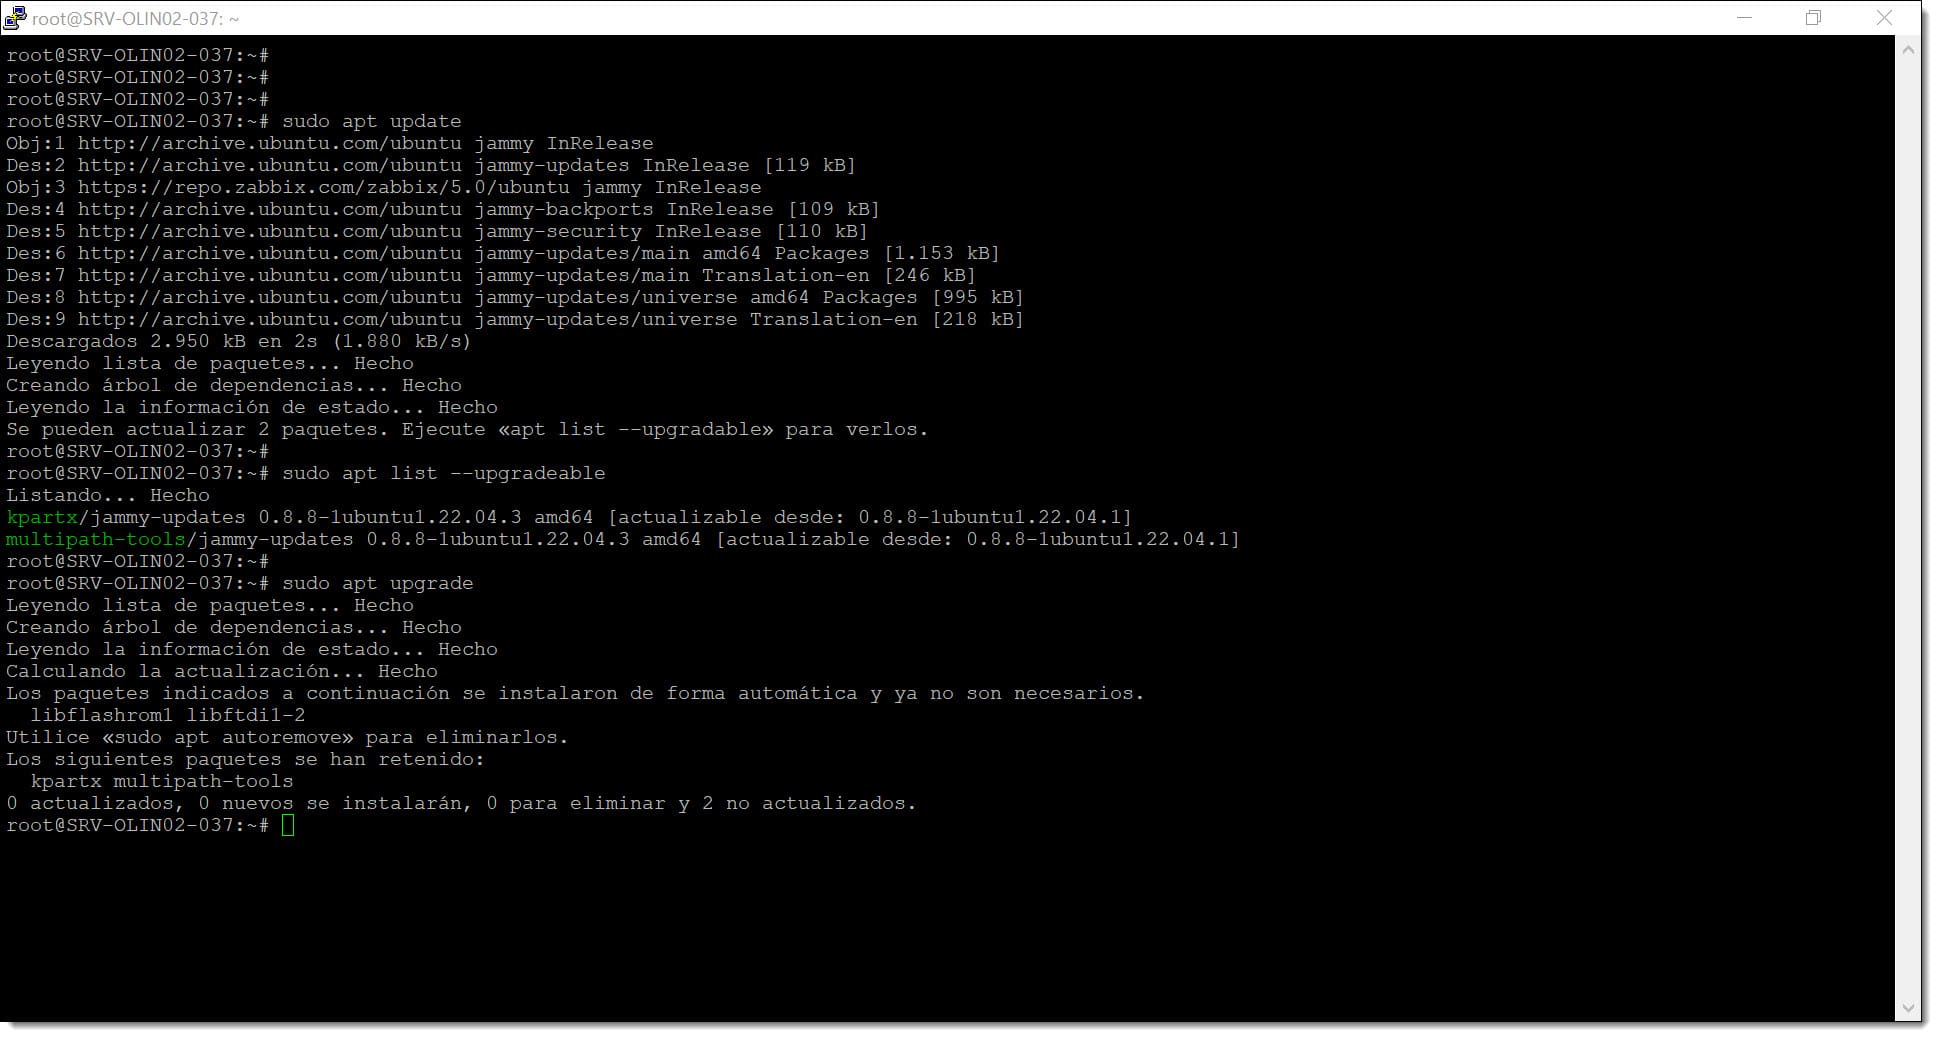
The first thing that must be done **before starting the deployment** of Kubernetes is **to update the packages and the distribution** to make sure we have the most up-to-date packages and the latest updated sources.
To do this, you must **run the following commands**.
\_# sudo apt update
## sudo apt upgrade\_
Let's remember that **the "sudo" command** is used in **Ubuntu distributions** to **run commands with elevated privileges**. It would be something like a "Super User Do" (Do as Super User), it is the equivalent of a "RunAs" in Microsoft environments.
Step 1. We run the update of the packages and the distribution
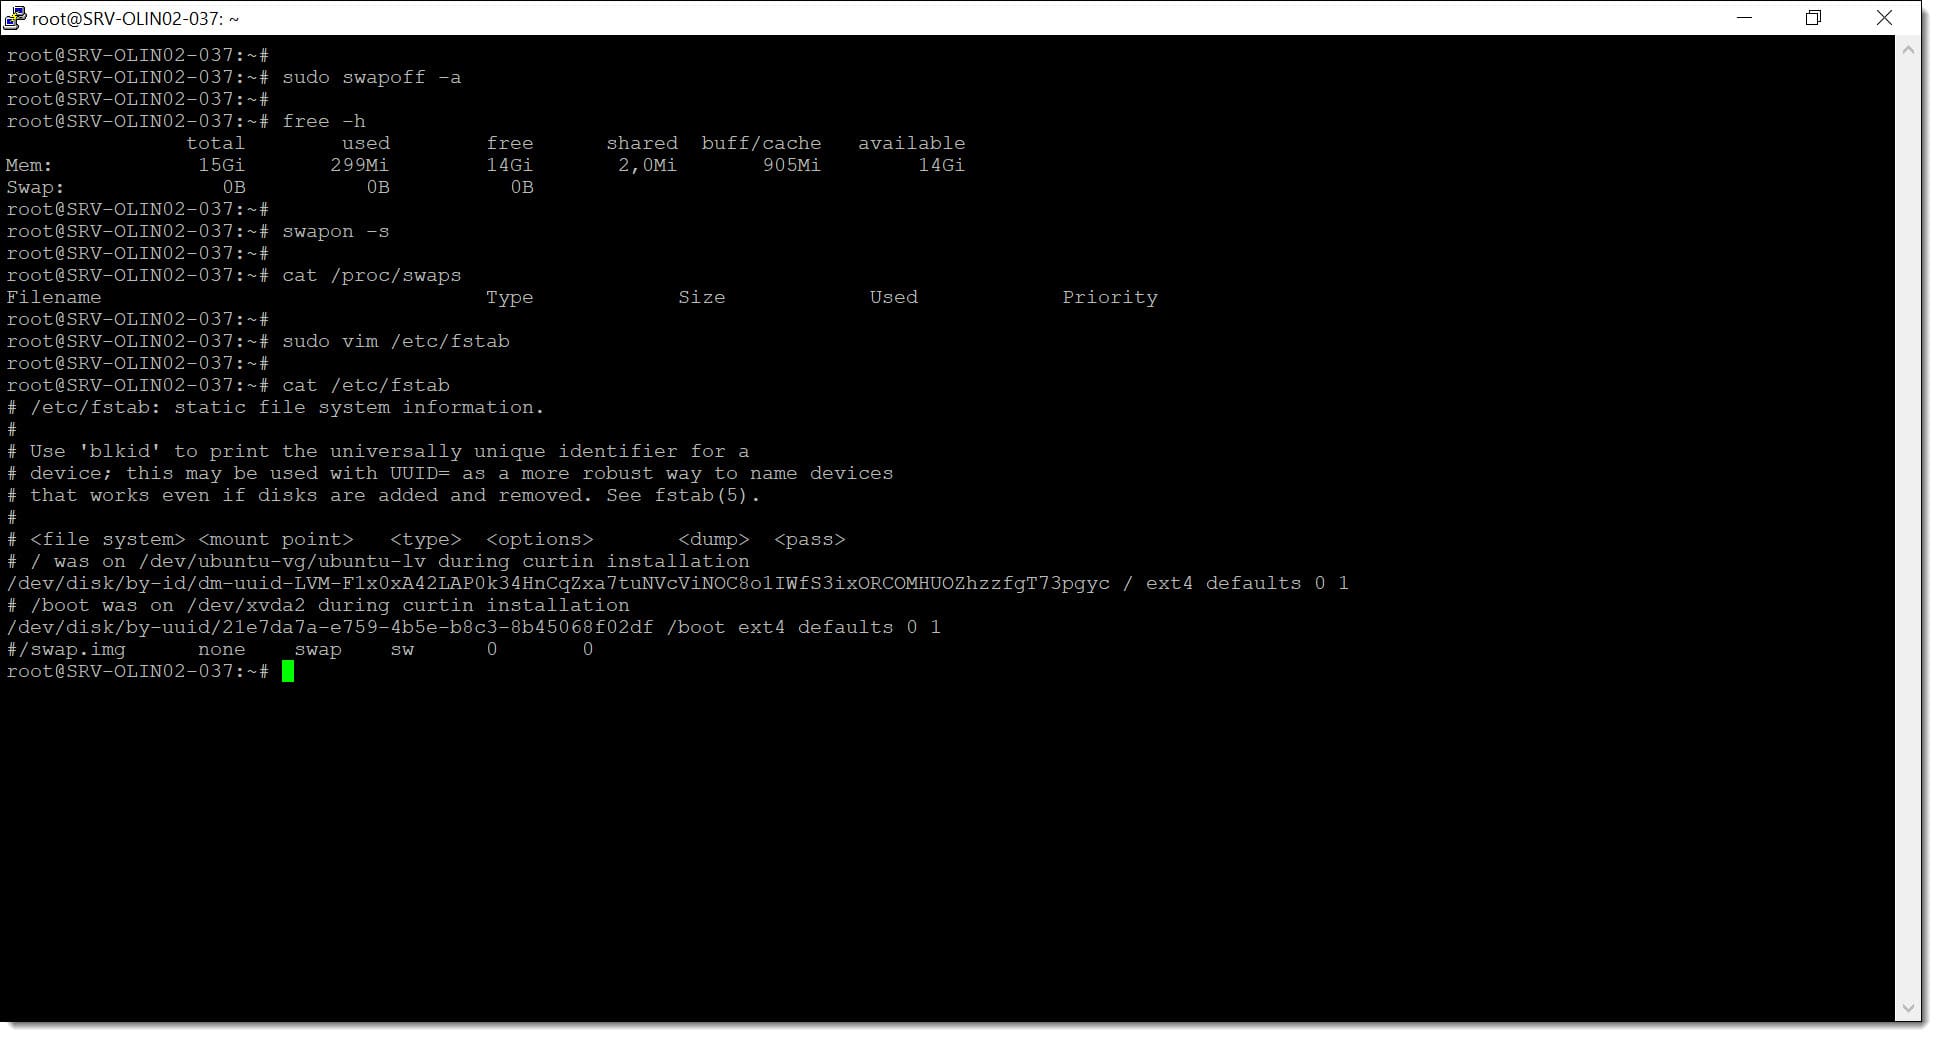
One of the points that **we must control** when working with Kubernetes is the use of **swap memory or SWAP**. Sometimes problems have occurred during POD scaling, since the system does not manage them correctly if the system SWAP is active.
To avoid erratic behavior, the best option is **to disable this option** using the "swapoff" command.
*# sudo swapoff -a*
To **check if it has been disabled,** several methods can be used.
\_# free -h
## swapon -s
## cat /proc/swaps\_
To **prevent it from being activated on reboot** and from being used in any way **it must be removed from the filesystem table**, that is, from **"/etc/fstab"** so it must be edited and the lines where the word "swap" appears commented out.
*# sudo vim /etc/fstab*
Once done, you can **make the query** with a "cat" (if you are a cat fan you can use any other viewing command) to see if it is correctly saved.
*# cat /etc/fstab*
This cleanup process of the file "/etc/fstab" could also be done using the following command:
*# sudo sed -i '/ swap / s/^/#/' /etc/fstab*
This command based on "sed" looks for the string "swap", without applying type conversion and places a hash "#" which is the symbol used to comment text.
Step 1. We disable SWAP so there are no problems with Kubernetes PODs
It may be desired to **change the machine name** to identify it within our network or for any other purpose. This process can be carried out before the entire process of bringing up the Kubernetes, which is why we mention it before starting the actual procedure.
It **checks the current name** with the **"hostname" command**, although it should really be visible as part of the Bash prompt.
*# hostname*
Next, to **change the machine name** the command "sudo hostnamectl set-hostname" is run followed by the new name and the command "exec bash" is run so that the changes take effect.
An example of all this could be:
\_# sudo hostnamectl set-hostname
## exec bash\_
Where:
* \*\*\*\*: It will be the name the machine receives from that moment on.
An example could be:
\_# sudo hostnamectl set-hostname kubernetes-nacho-1
## exec bash\_
Where:
* "kubernetes-nacho-1" will be the name the machine receives from that moment on.
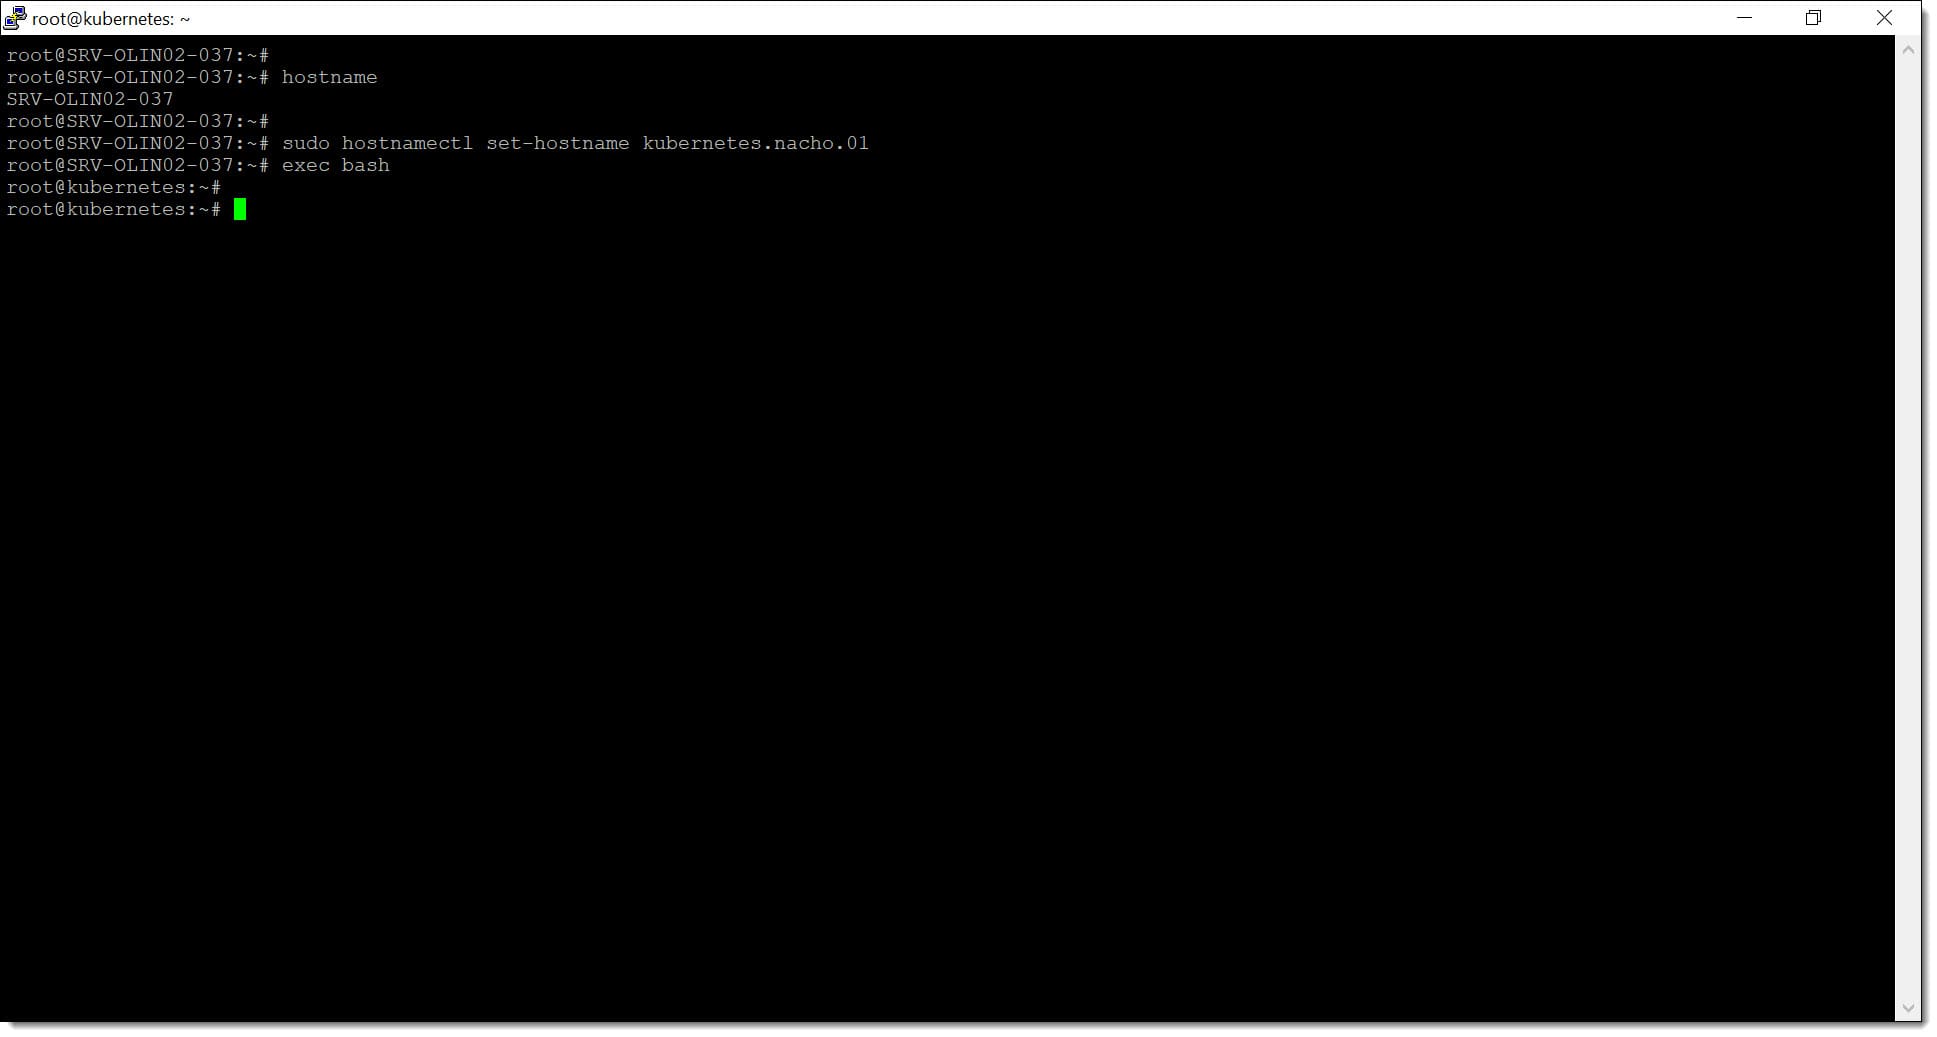
Step 1. We change the machine name to identify it on the network as a Kubernetes server
The next step is **configure the kernel** (system core) with some **additional parameters so that** that **Kubernetes** can work correctly.
For this, one must **edit the file "/etc/sysctl.conf"** by executing the following commands:
*# sudo tee /etc/modules-load.d/containerd.conf <*\
*/etc/containerd/config.toml».*
After executing these commands, you must **modify the file "config.toml"** to locate the entry that sets «SystemdCgroup = false" and **change its value to «SystemdCgroup = true"**.
*# sudo sed -i 's/ SystemdCgroup = false/ SystemdCgroup = true/' /etc/containerd/config.toml*
To finish this part, you must **restart the "containerd" and "kubelet" services** so that the configuration is reread and the changes are saved.
\_# sudo systemctl restart containerd.service
## sudo systemctl restart kubelet.service\_
The normal thing is to want to **start Kubernetes** and therefore the Kubelet service **every time the machine starts,** so the following command must be executed:
*# sudo systemctl enable kubelet.service.*
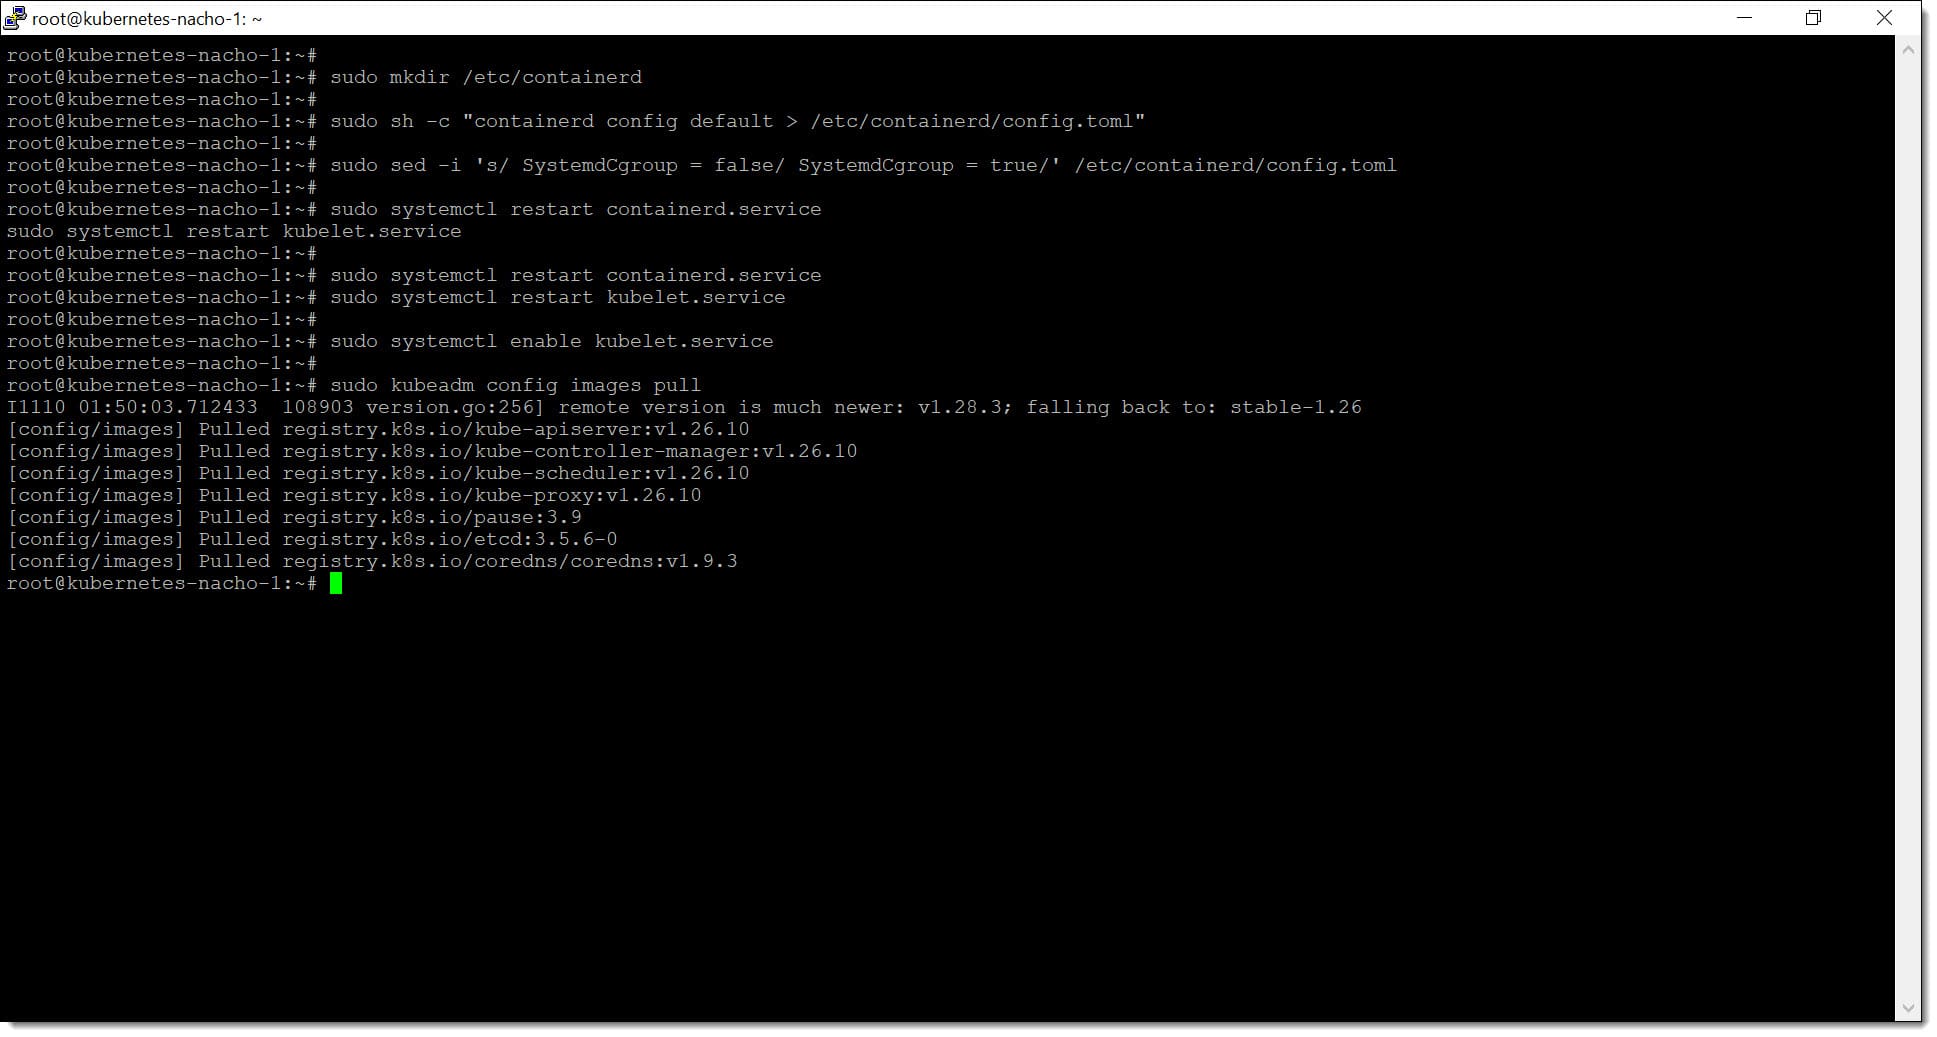\\
Step 2. We prepare the system for the use of containerd
The next step is **to start the Kubernetes cluster** on the master node, so when a Kubernetes control plane is started using kubeadm, different components will be deployed to manage and orchestrate the cluster.
With the following command, **the component images will be downloaded** (kube-apiserver, kube-controller-manager, kube-scheduler, etcd, kube-proxy).
*# sudo kubeadm config images pull*
We initialize the master node by passing "--pod-network-cidr" with the range of IP addresses that we have reserved for the POD network.
*# sudo kubeadm init --pod-network-cidr=10.0.0.0/16*
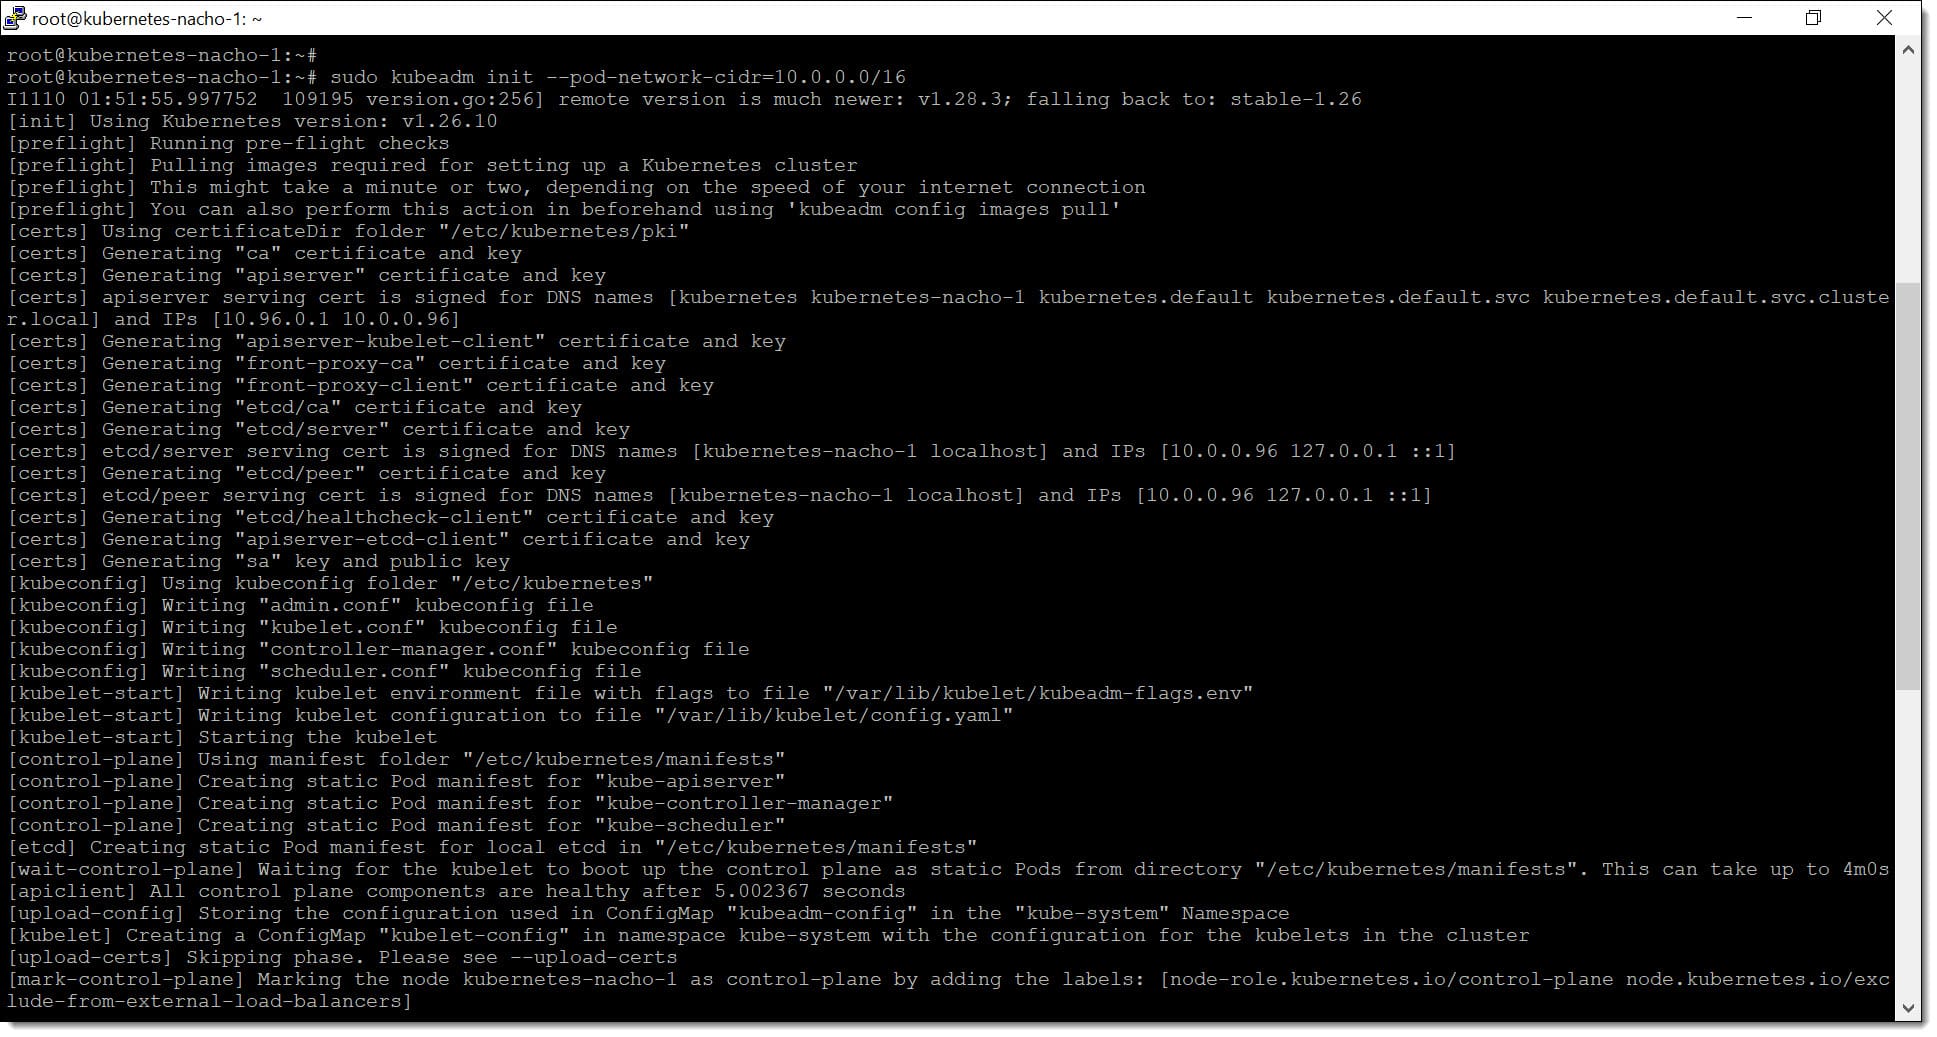\\
Step 2. We start the Kubernetes cluster
At this point, **kubectl is going to be configured,** which is the tool used to manage the Kubernetes cluster. To do this, we must start by **creating the .kube directory** in HOME and copying the cluster administration configuration.
\_# mkdir -p $HOME/.kube
## sudo cp -i /etc/kubernetes/admin.conf $HOME/.kube/config\_
After this, we must **change the file ownership** of the copied configuration so as to **grant the user permission** to use the configuration file.
*# sudo chown $(id -u):$(id -g) $HOME/.kube/config*
Next, we are going to **configure both kubectl and Calico,** which will be necessary for the operation of our Kubernetes service. To do this it will be necessary to **run the following commands on the master node** so that the Calico operator is deployed.
*# kubectl create -f* [*https://raw.githubusercontent.com/projectcalico/calico/v3.26.1/manifests/tigera-operator.yaml*](https://raw.githubusercontent.com/projectcalico/calico/v3.26.1/manifests/tigera-operator.yaml)
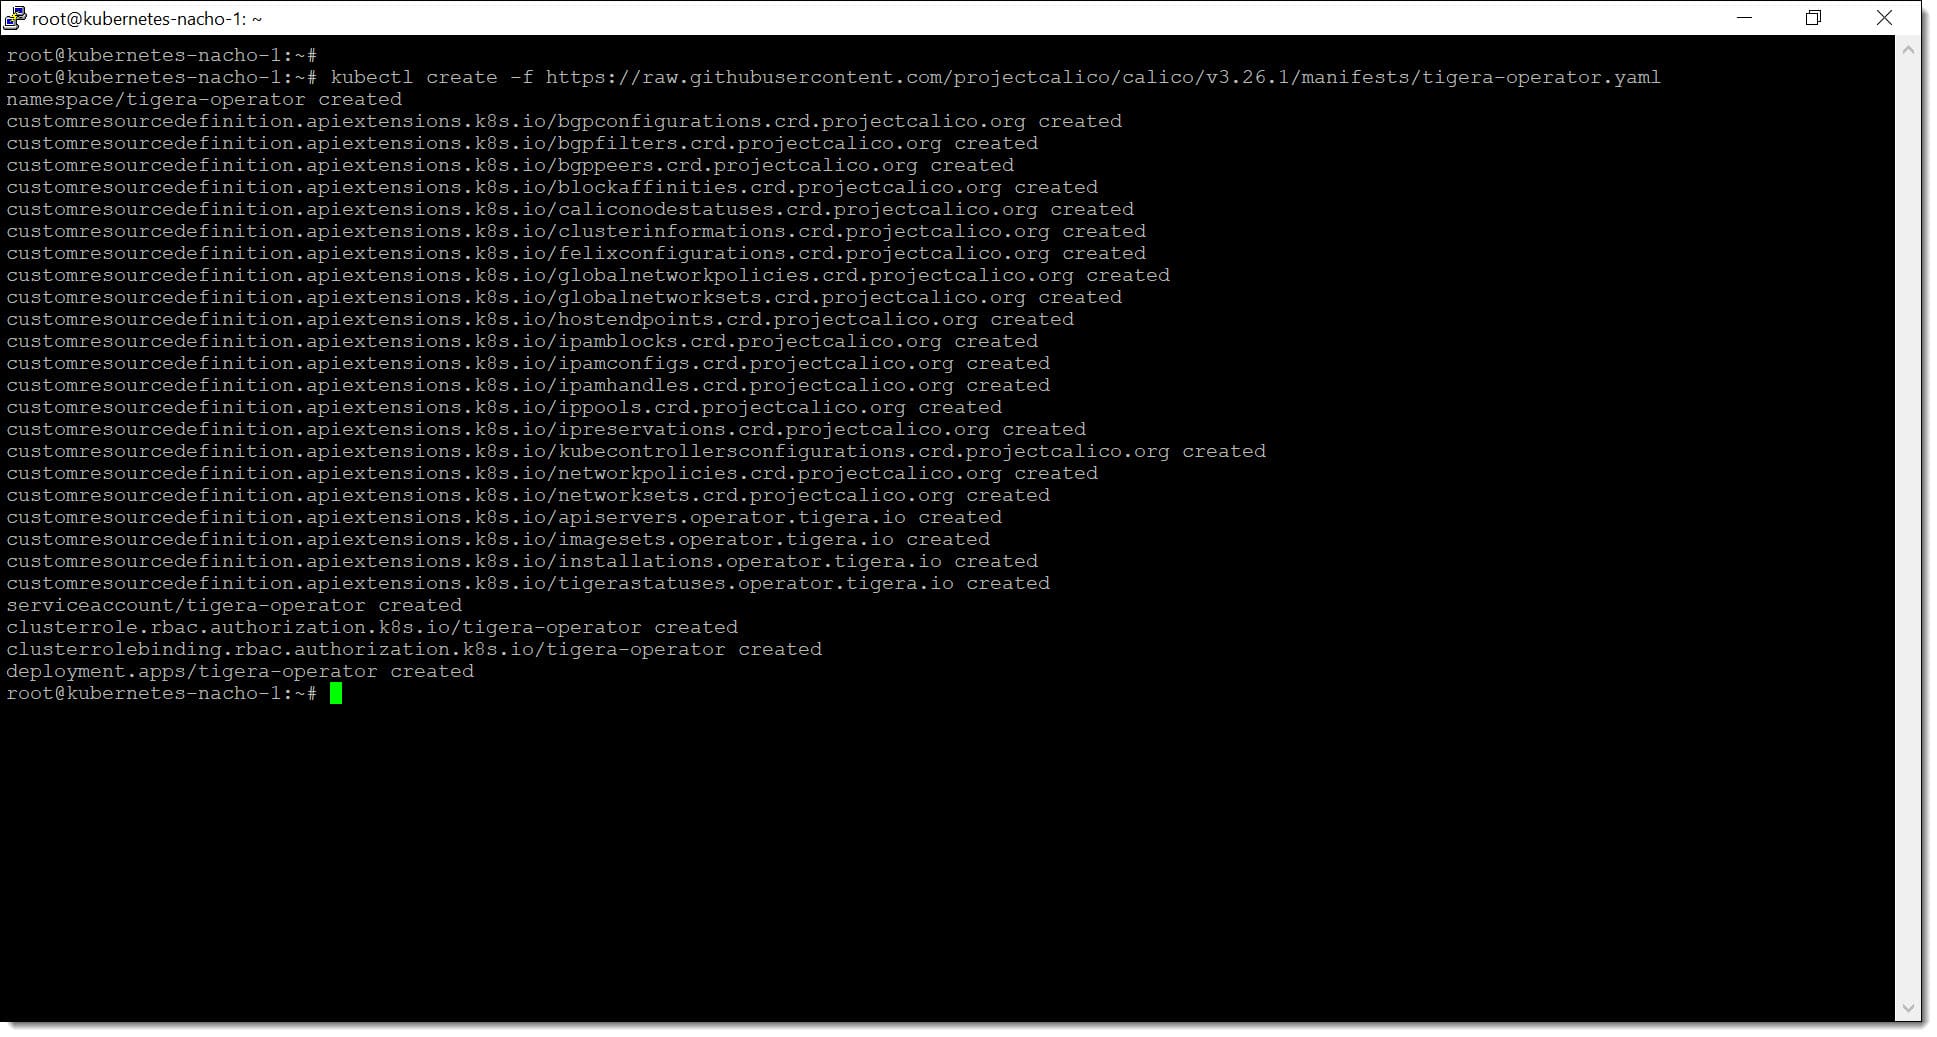\\
Step 2. We configure kubectl and Calico in our Ubuntu
The next step to take is to **download the custom resources file** for **Calico,** which contains different configurations necessary for the use of this service.
*# curl* [*https://raw.githubusercontent.com/projectcalico/calico/v3.26.1/manifests/custom-resources.yaml*](https://raw.githubusercontent.com/projectcalico/calico/v3.26.1/manifests/custom-resources.yaml) *-O*
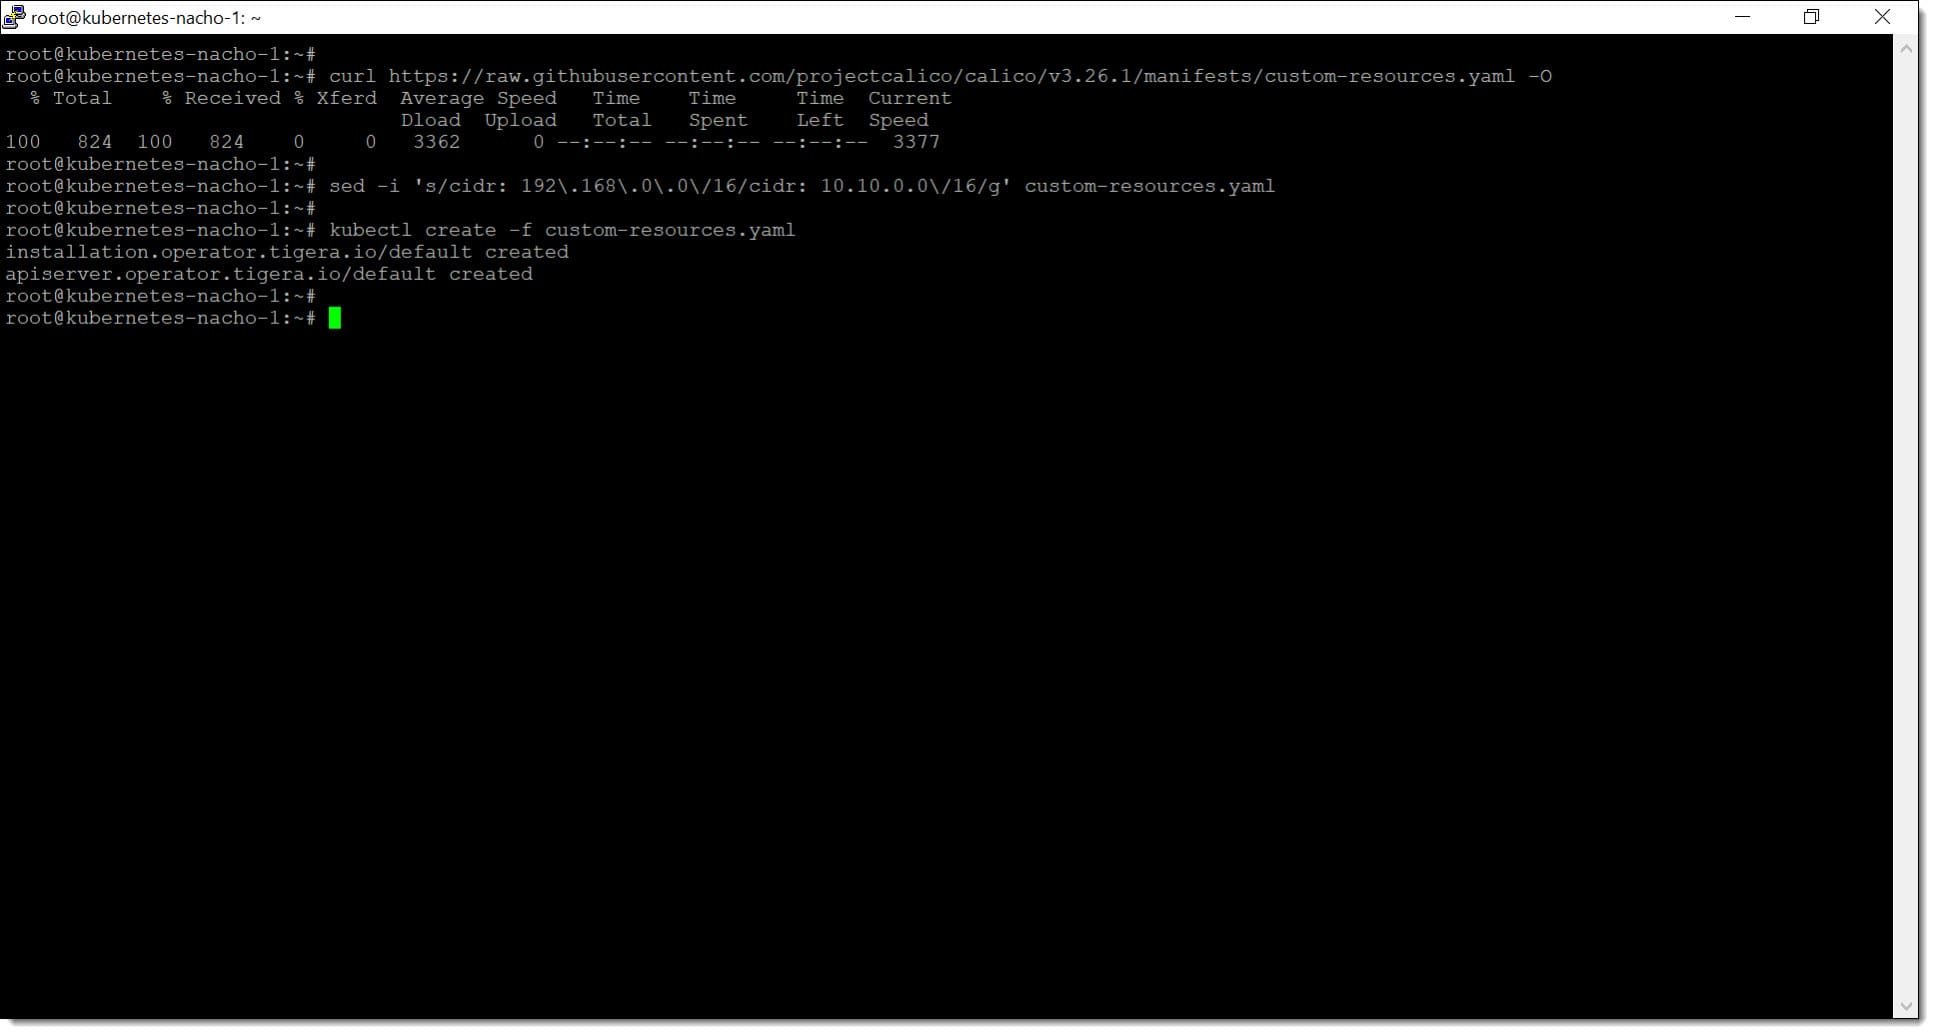\\
Step 2. We download the Calico resources and configure the CIDR of our Kubernetes cluster
At this point, **the CIDR in the configuration file "custom-resources.yaml" must be modified** so that the resources match the POD network that will be provisioned in our case.
*# sed -i 's/cidr: 192.168.0.0/16/cidr: 10.0.0.0/16/g' custom-resources.yaml*
At this moment **kubectl is told to read the contents of the file "custom-resources.yaml"** and **create the resources** defined in that file, for which the following command must be run:
*# kubectl create -f custom-resources.yaml*
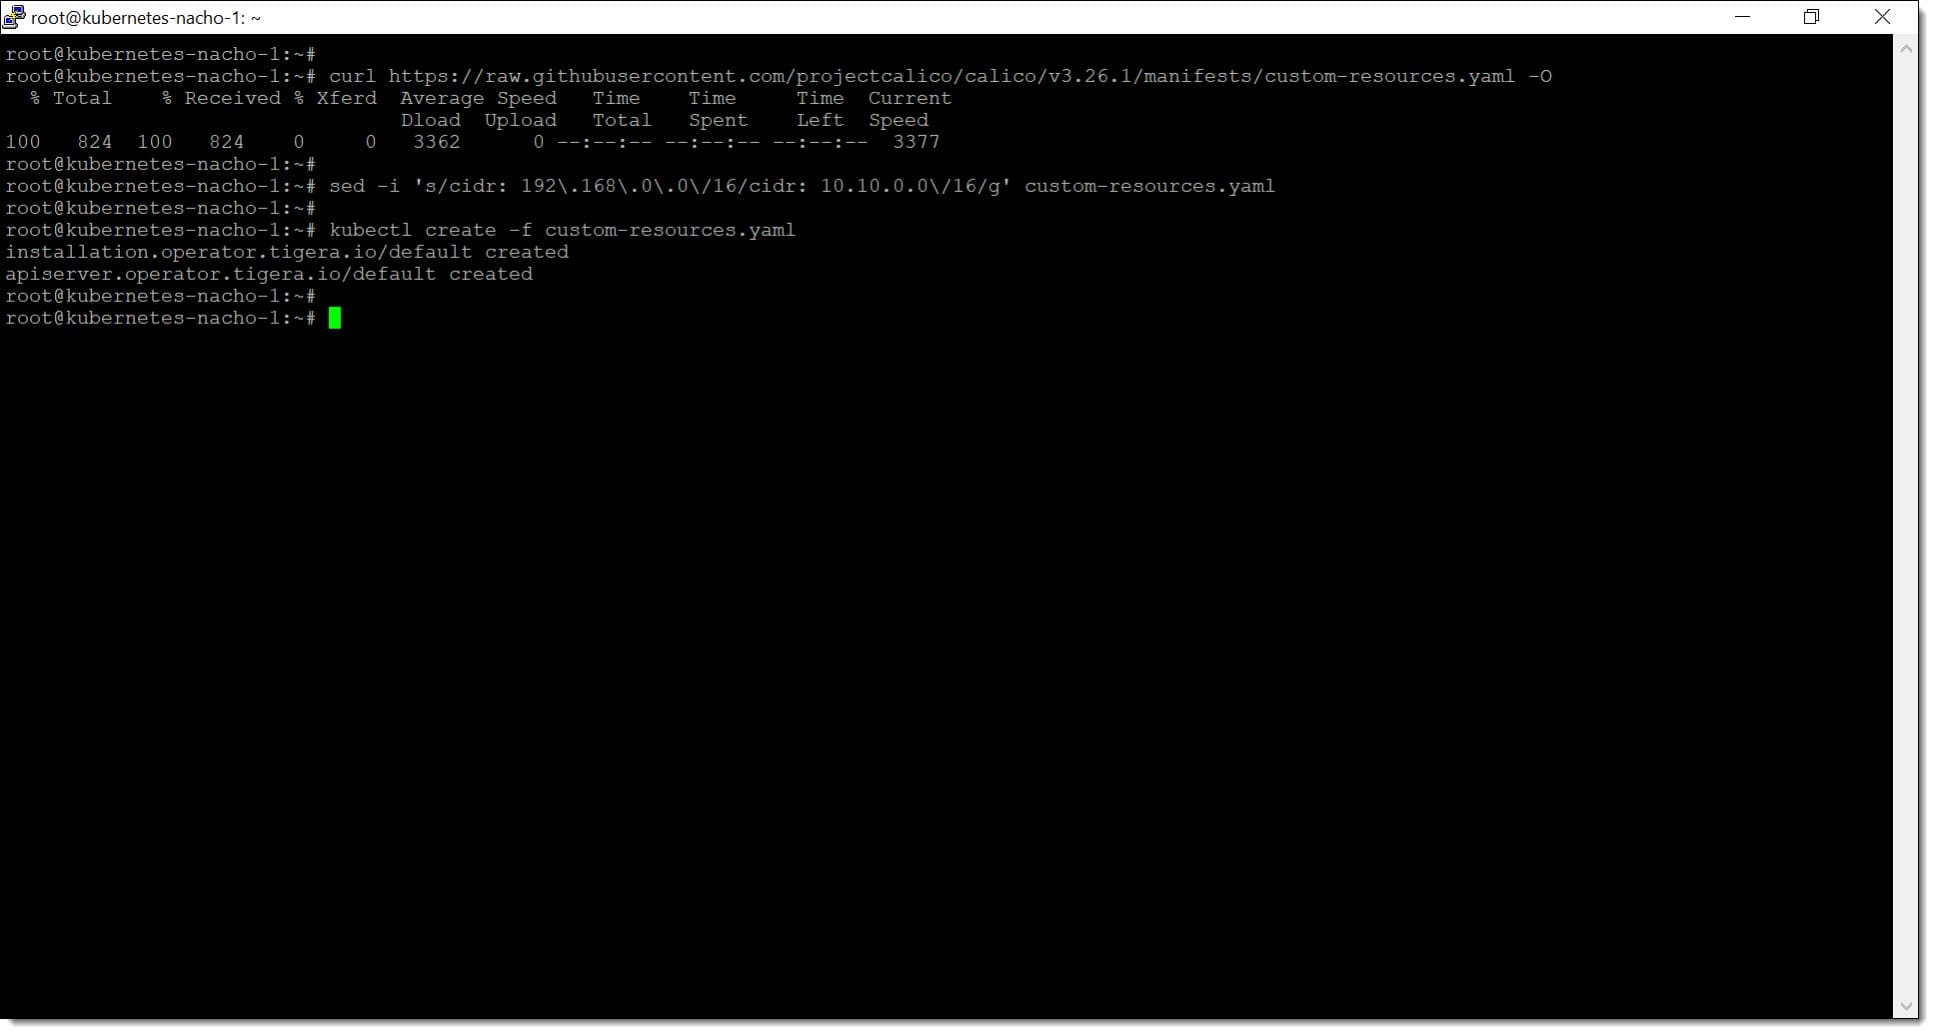\\
Step 2. We configure the CIDR of our Kubernetes cluster
With this, everything should already be configured inside our master, so we move on to configuring the workers.
#### **Step 3. Add workers to the Kubernetes cluster**
Now that the master node of our Kubernetes cluster has been configured, it is time to **add the worker nodes to the cluster, which will be the ones doing the real work**, leaving the coordination task to the master.
When Kubeadm is started on the master node, a token will be provided that will be used to add these work nodes, which will be added using the "kubeadm join" command.
\*# sudo kubeadm join :\ --token \ --discovery-token-ca-cert-hash \*
Where:
* \*\*\*\*: IP address of the Kubernetes cluster master node.
* \*\*\*\*: Communication port, normally "6443".
* \*\*\*\*: We pass the validation token.
* \*\*\*\*: We pass the token HASH in order to perform mathematical checks.
With this, we would have already added the workers to the Kubernetes structure and we can start operating the platform.
**NOTE:** *If you encounter any problem during this procedure, you can consult the* [*Kubernetes installation help*](https://kubernetes.io/es/docs/tasks/tools/included/install-kubectl-linux/){target="*blank" rel="noopener"}*.\_
### **Conclusions:**
As you can see, **set up a Kubernetes environment in Plenit** it is something very simple to do by following the steps we have described.
In this case we have seen how to deploy the Kubernetes service on our GNU/Linux servers, **Ubuntu 22.04** (the latest version available at this date) but the same procedure can be used for other versions by applying slight changes.
You can review other tutorials and articles related to this technology, GNU/Linux or other technologies by checking our [blog](https://jotelulu.com/blog/){target="\_blank" rel="noopener"}.
Thanks for joining us!
---
# Agent Instructions
This documentation is published with GitBook. GitBook is the documentation platform designed so that both humans and AI agents can read, navigate, and reason over technical content effectively. Learn more at gitbook.com.
## Querying This Documentation
If you need additional information that is not directly available in this page, you can query the documentation dynamically by asking a question.
Perform an HTTP GET request on the current page URL with the `ask` query parameter, and the optional `goal` query parameter:
```
GET https://docs.plenit.com/docs-en/support/tutorials/linux/how-to-set-up-kubernetes.md?ask=&goal=
```
`ask` is the immediate question: it should be specific, self-contained, and written in natural language.
`goal` is optional and describes the broader end goal you are ultimately trying to accomplish on behalf of the user. GitBook uses it to tailor the answer towards what is most useful for that goal.
The response will contain a direct answer to the question and relevant excerpts and sources from the documentation.
Use this mechanism when the answer is not explicitly present in the current page, you need clarification or additional context, or you want to retrieve related documentation sections.